
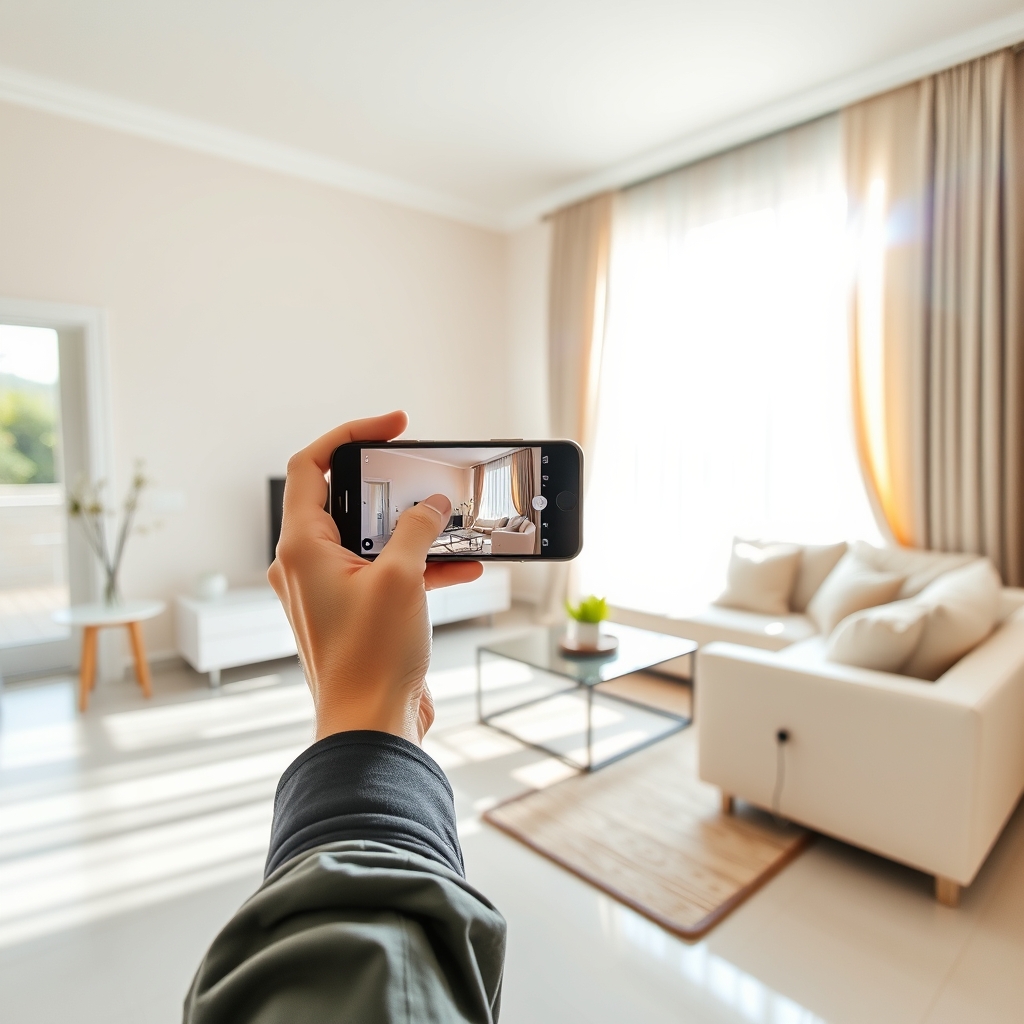
Good property photography tips can make the difference between a listing that gets ignored and one that generates a flood of serious enquiries. Tenants scroll through dozens of listings before deciding which ones to even open, and photos are the first — and sometimes only — thing that determines whether yours gets a second look. Here's how to photograph your property in a way that actually converts views into enquiries.
Prepare the Space Before You Shoot
No camera setting can fix a cluttered or messy room. Before you pick up your phone or camera, spend twenty minutes decluttering: clear countertops, make the bed, tuck away cables, and remove personal items like photos or medication. Open the curtains, turn on all the lights, and if possible, add small touches like fresh flowers or neatly folded towels — these small staging details make spaces feel cared for and lived-in rather than abandoned.
Why it matters: Listings with clean, well-lit photos consistently draw more clicks and enquiries than cluttered or dark ones, because tenants form a first impression of the property within seconds of viewing the thumbnail.
Get the Lighting Right
Lighting is the single biggest factor in whether a photo looks professional or amateur. Natural daylight is almost always your best friend:
- Shoot during daytime with curtains open and artificial lights on to fill in shadows
- Avoid shooting directly against a bright window, which silhouettes the room
- Overcast days often give the most even, flattering light — avoid harsh midday sun through windows
- Use your phone's grid lines to keep vertical edges like door frames straight
Angles That Make Rooms Look Their Best
Shoot from a corner of the room rather than straight-on, which helps capture more depth and makes the space feel larger. Hold the camera at chest height rather than shooting downward, and take a few shots at slightly different angles so you can choose the best one later. For the room for rent itself, make sure to capture the bed, storage space, window view, and attached bathroom (if any) as separate, clear shots.
What to Include in Your Photo Set
A complete, trustworthy listing typically includes:
- The room itself from two or three angles
- The attached or shared bathroom
- The kitchen and common living area
- The building exterior and entrance
- Any standout amenities like a balcony, parking, or gym
Uploading a well-rounded gallery rather than one or two photos signals transparency, which builds trust with verified tenants browsing your listing.
Pro tip: Upload your photos in the order a visitor would actually walk through the property — entrance, common areas, then the room. It helps tenants mentally picture living there and often increases time spent on your listing.
Common Mistakes to Avoid
A few habits quietly hurt otherwise decent listings: blurry or low-resolution images, heavy filters that misrepresent the actual colours of the space, photos taken at night with poor lighting, and reusing old photos that no longer reflect the current condition of the property. Keeping your photo set current and accurate also reduces awkward surprises during in-person viewings, which helps you close faster with serious tenants.
Ready to list your property? List your property on FlatmatesHub today — free, with verified tenant leads and zero brokerage.